Workspaces
Workspaces provide a structured way to organize Customizer instances according to their role in the configuration lifecycle. This approach supports environment-based separation of concerns, facilitating cleaner workflows and minimizing the risk of unintended changes across development stages.
Typical workspace usage includes the following:
Production — The Production workspace contains product configurations currently available to end users. Only finalized, validated data should reside in this environment. All configurations within Production are assumed to be live and available for order placement.
Staging — The Staging workspace serves as the primary location for preparing, previewing, and validating configuration changes prior to release. It typically reflects the authoritative version of product data and can be synchronized to both Production and Development environments as needed.
Development — The Development workspace is intended for in-progress work, including front-end interface development, backend integration testing, and data transformation logic. Content in this workspace is subject to frequent change and should not be considered stable. It is optimized for experimentation and troubleshooting.
The default Customizer instance configuration includes three pre-defined workspaces—Production, Staging, and Development—aligned with common usage patterns across the product configuration lifecycle. These environments support separation between live data, pre-release validation, and ongoing development activities.
Additional workspaces can be provisioned to support specific operational needs. Requests for custom workspace configurations can be submitted to the Drive Commerce support team.
Navigating workspaces
To view available workspaces and select one for operations within the Customizer Admin:
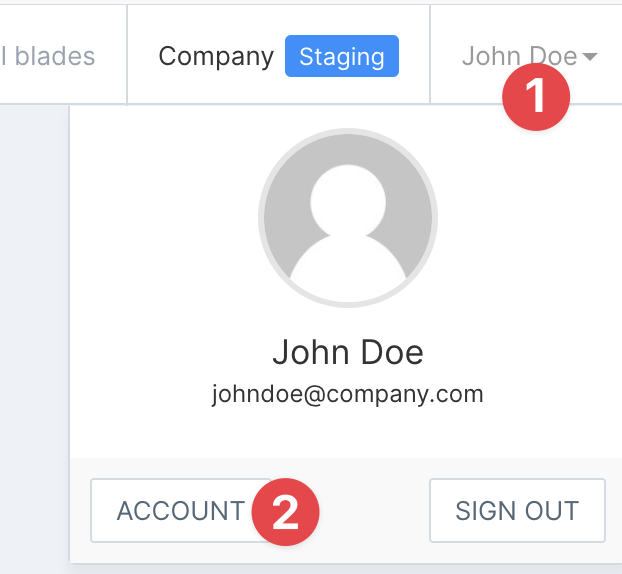
Open the Account menu located in the top-right corner of the Customizer Admin interface.
Select Account from the dropdown menu.
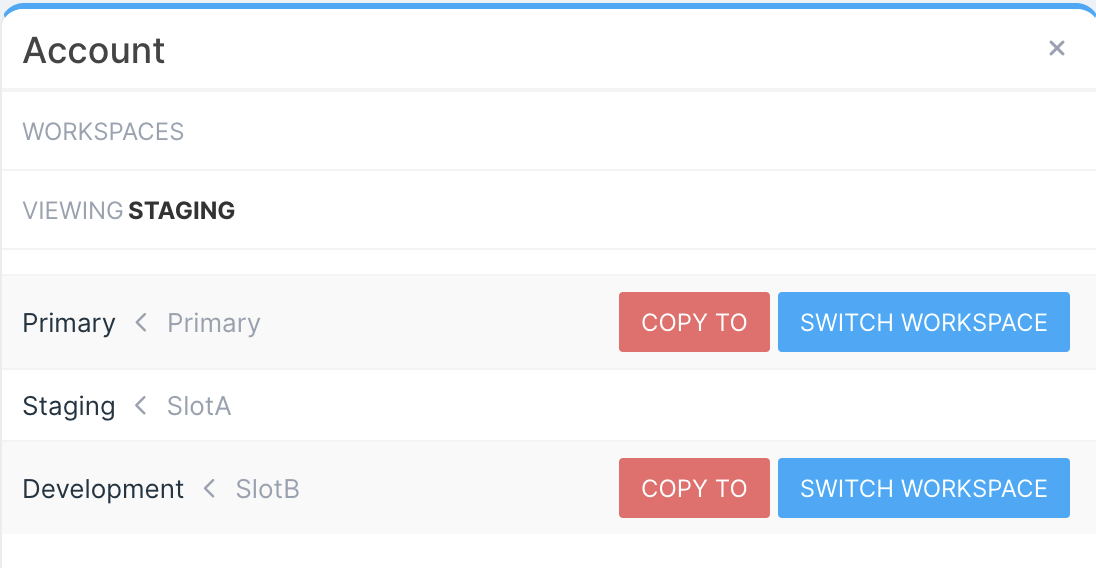
Select the desired workspace and click Switch To.
Copying data
Workspace data can be replicated from one workspace to another to support configuration deployment across environments. This operation creates a full copy of the source workspace’s content into the selected target workspace, with a few exceptions.
Elements copied
Product model metadata (component option definitions, component options, placements, products)
Reference data tables (e.g., translations, data grids)
Elements not copied
Global instance settings
API keys
Reference data files
Steps to copy workspace data
Open the Workspace menu using the steps outlined in the Accessing and Selecting a Workspace section.
Ensure the source workspace is currently selected. If not, switch to the appropriate workspace.
Locate the target workspace, then click Copy To.
In the confirmation dialog, enter the verification code displayed on screen to confirm the copy action.
(Optional) Provide a short description to document the purpose of the copy (e.g., “Production push – spring refresh”).
Monitor progress from the Workspace menu. The copy process may take several minutes depending on the size of the source data.
